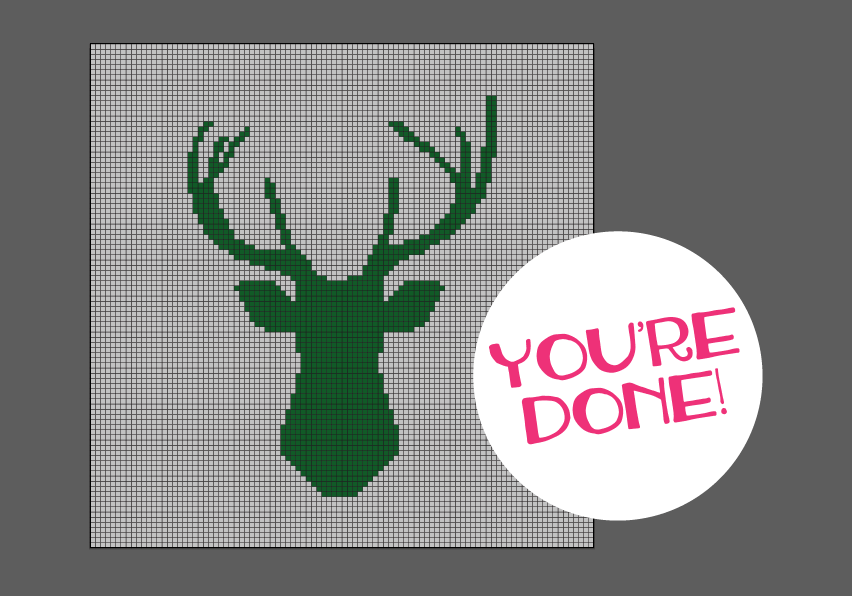
I haven’t been cross stitching as much lately and I realized one of the reasons is because I just have so many cross stitches and a limited amount of places to put them. So this year I wanted to do a monthly series on how to cross stitch and then explore alternative ways you can use your cross stitches besides just framing them or displaying them in a hoop.
So first I thought I would show you how I make my patterns in case you wanted to make your own. I use Adobe Photoshop and Adobe Illustrator. These screenshots are from the Creative Cloud version but this should work for older versions as well.
Start by making a new document. Set the width and height the size you want the finished cross stitch size to be, it can be anything. Then, set the resolution to whatever the thread count of your fabric is. I set mine at 14 because I was using 14 ct. Aida, but adjust this if you are using a smaller count.
Next select the pencil tool, make sure that it is set to 1 px. Every square you draw is equal to one stitch.
Draw whatever design you want, when you’re done and ready to add the lines, go to Image size.
Take note of the dimensions of the image, you’ll need this when you take the file into Illustrator.
Open the Photoshop document in Illustrator and there will be an import option box that opens. Make sure that the option to Flatten Layers to a Single Image is selected.
Make sure the image is selected and then under the Object tab, select “Create Object Mosaic”
In the “Number of Tiles” sections, enter the dimensions from the Image Size screen. Click OK.
This will create a grid over the whole image, do not click off of this. Fill the stroke line with black or whatever color will be most visible over your image. I like to lower the stroke weight to .5px.
Deselect and that’s it! I save mine as a PDF and keep it on my phone and work from there.
A NOTE ON TEXT
Text is a little bit trickier than just drawing your own image. First, you need to make sure to set the type style as None. This will give you a nice pixel look. However, some fonts just don’t lend themselves well to being pixelized. You are going to need to do a lot of experimenting with different fonts and sizes and see what works.
And there you have it! If you have any questions or problems with this, please let me know! rebecca@hugsarefun.com


Leave a Reply